
If there is one thing that you need to experience… Driving on a dark rainy evening in a open racer, like in a Teal! This is the best way to spend your evening, especially when it is followed by a highly educative private class about all things mechanical! As you will see I had a GREAT evening with a great petrol head friend! Initially Hans, the owner of the Teal, didn’t want to pick me up with the Teal because of the rain, but before starting work on it that evening it needed a warming up… For me rain, thunder, darkness, etc. no problem at all! In all circumstances I love to drive such cars, no matter what. Even better because it is a bit spooky and adventurous, right? ; ) Even better when the FUN ride ends at a barn, not just a ordinary one…
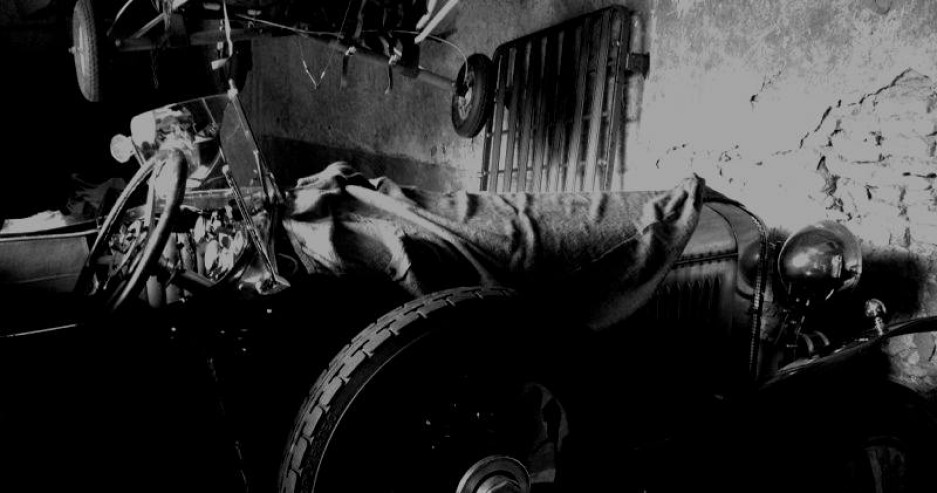
When we arrived at the barn I was in shock! Everywhere tools, cables and everything else you can possibly think of! The owner of the barn (not Hans) likes to collect… um, everything that you might ever need when tinkering! ; )


When Sir Teal had settled down in its stable again, Hans made a list of work that had to be done… by me! : ) YES, this was real practice and I made my hands even more black than they already were! Oh, don’t forget the nails, they need to be black… if not you aren’t COOL! ; )
This was my first class to learn to understand an engine, starting with almost zero knowledge. I hope that the knowledge I gained has been saved correctly in my brains. I am going to check by trying to explain what I know now… : )
I will tell you the whole story of what I did, just to check myself and to educate the CHB readers who are not an expert yet… perhaps after reading this report ; ) The engine of the Teal is a 6 cylinder 2.5 litre Triumph with ‘bomber’ exhaust. The notes below are relevant for the Teal, but most of it will probably be standard vintage car info.
CHECKLIST:
•Adjusting the idling RPM
•Venting the front hydraulic brake calliper (the Teal has disk brakes at the front)
•Adjusting the rear brake shoes
•Checking the whole engine
To start with the first operation: like most things, simple when you know how to do it! We wanted the RPM at 800 for a decent idling and I did it by listening to the engine. When the engine sounded peaceful and relaxed, both carbs ran even which was our goal!
The venting of the front brakes was important as Hans noticed that the car was not braking as it should. His conjecture was correct: lots of bubbles came out of the tube into a glas with brake fluid. Again a simple procedure: connect the tube onto the valve on the brake cylinder and use a wrench to open and close the valve, while Hans put his foot down on the brake pedal, alternately by letting the brake go and so on. We did the same on the other side and problem solved! Oh, and not to forget: be very careful with the brake fluid… it can dissolve your paint!
Then adjusting the rear brake shoes! First get yourself a properly fitting wrench and put it on the correct nut. First tighten up by adjusting the brake shoes all the way onto the brake drum and then loosen it up again with three clicks. When doing this you feel what a click is. After doing this on both sides, you are ensured of nice and even braking and not too tight, but it should certainly not have too much play either! Very important, obviously, that the brakes have equal play on each side. You don’t want any dangerous situation on the road when the brake works on one side first! 
Now the freestyle part! Exploring the engine, with a thorough explanation by Hans! First of all the impressive top, the valve area… I dismantled the valve cover to see what is underneath. Just a comment: always do any work in a systematic way. Every part should get back in the same place, even if the parts look identical! A nice and very simple method is to just get yourself a piece of cardboard, write “ front” on it and make holes in it for each part as it comes off the engine front to rear, like with the push rods for example! In our case we didn’t need to dismantle anything as the valves and tappets looked fine. On top of each valve tappet is a nut with a screw to adjust the play between the valve tappet and the valve. To do so you use a feeler gauge. Valve play was perfect, so no adjustments. 

The distributor looked interesting, so let’s take a look at this thing that feeds sparks to the spark plugs! My dad had a while ago a minuscule crack, like a hair, in a distributor cap, causing the car to run on 4 cylinders i.s.o. 6. Carbon, collecting in the crack, will cause a short circuit and essentially eliminate 2 cylinders. But let’s come back to the Teal distributor! Hans told me it is very important to make sure you close the distributor cap correctly! If not, the rotor (which sends a spark to each cylinder as it rotates inside the cap) will not properly contact each point in the cap and not send that necessary spark to each cylinder. The spark causes the explosion of the mixture of air and gasoline, compressed inside each cylinder (air and gasoline are mixed in the carb). The explosion causes the piston to shoot downward inside the cylinder and this action translates into rotation of the crankshaft…! : )
What else do we have? A dynamo and a battery which are obviously there to generate electric power for the ignition (to make those sparks), starter motor and also lights, etc. for example. Then there is a waterpump that circulates the coolant through the radiator and the engine. Extra cooling can be provided by an electric fan. A natural process occurs by which the cold coolant flows down inside the radiator into the engine and the hot coolant rises up inside the engine to return to the radiator. Most of the time this natural thermosyphon circulation process is not enough to avoid overheating the engine, so there is an electric pump to force the circulation process.
OIL! Without a good oil pressure your engine bearings etc. won’t hold! The lubrication is very important thru the entire engine! So make sure you keep an eye on your oil pressure gauge. Many cars have a light on the dash to warn when the pressure goes too low. But you must also watch the temperature of the coolant which should normally be around 80-90 degrees C. Again, many cars don’t have a gauge for this anymore. The thermostat on the Teal controls the temp to around 85 degrees. When it gets higher, e.g. in traffic jams, the electric fan will kick in for extra cooling.
The starter motor is something we shouldn’t forget! It is connected to the electric circuit via a relais. When starting your car, the motor will start turning the engine by turning the flywheel. The motor throws out a small gear on a worm type shaft (the ingenious Bendix) that will engage with the gear on the circumference of the flywheel. The flywheel is fixed on the back end of the crankshaft which thus starts to rotate. The rotation of the crankshaft pushes up the pistons in the cylinders, compresses the mixture and with a spark igniting the mixture at the right position of the pistons the engine will start to run. The crankshaft also drives all the ancillaries, like the dynamo and the waterpump via a V-belt at the front of the engine.
When dismantling always make sure you put the parts aside in the right order, especially the smaller parts, to prevent very annoying mistakes upon assembly! Also try work work as clean as possible to help keeping order in your work and to avoid making a mess of your workplace!
Well, for me the basics are clear now. I may have forgotten a couple of things, but this is a good start! If you want to learn something, you mostly don’t succeed by reading the entire book in one go. Just be patient, have perseverance and learn in steps. Make sure those steps are clear and lock them up in those grey cells up in your head.
I hope you learned something of my explanation and most of all, ENJOY and have FUN! It is all about the passion and nothing else! : ) Another time I will talk about the basic construction of the engine, just for the petrol heads who want to learn…!
I have much more in store for you, plus some great new developments! Stay tuned! : )
Written by Rosemarijn Atalante Veenenbos

Good for you! Keep at it.
LikeLiked by 1 person
Thanks!! I will!! : )
LikeLike
Very nice story Rosemarijn !
LikeLiked by 1 person
Thank you so much Ruud! Great to hear!! 😃👍🏽
LikeLike